Plumbers installation guide: Sonic
Here’s how to install Sonic. Make sure to read these instructions carefully to avoid common installation mistakes.
MEET SONIC
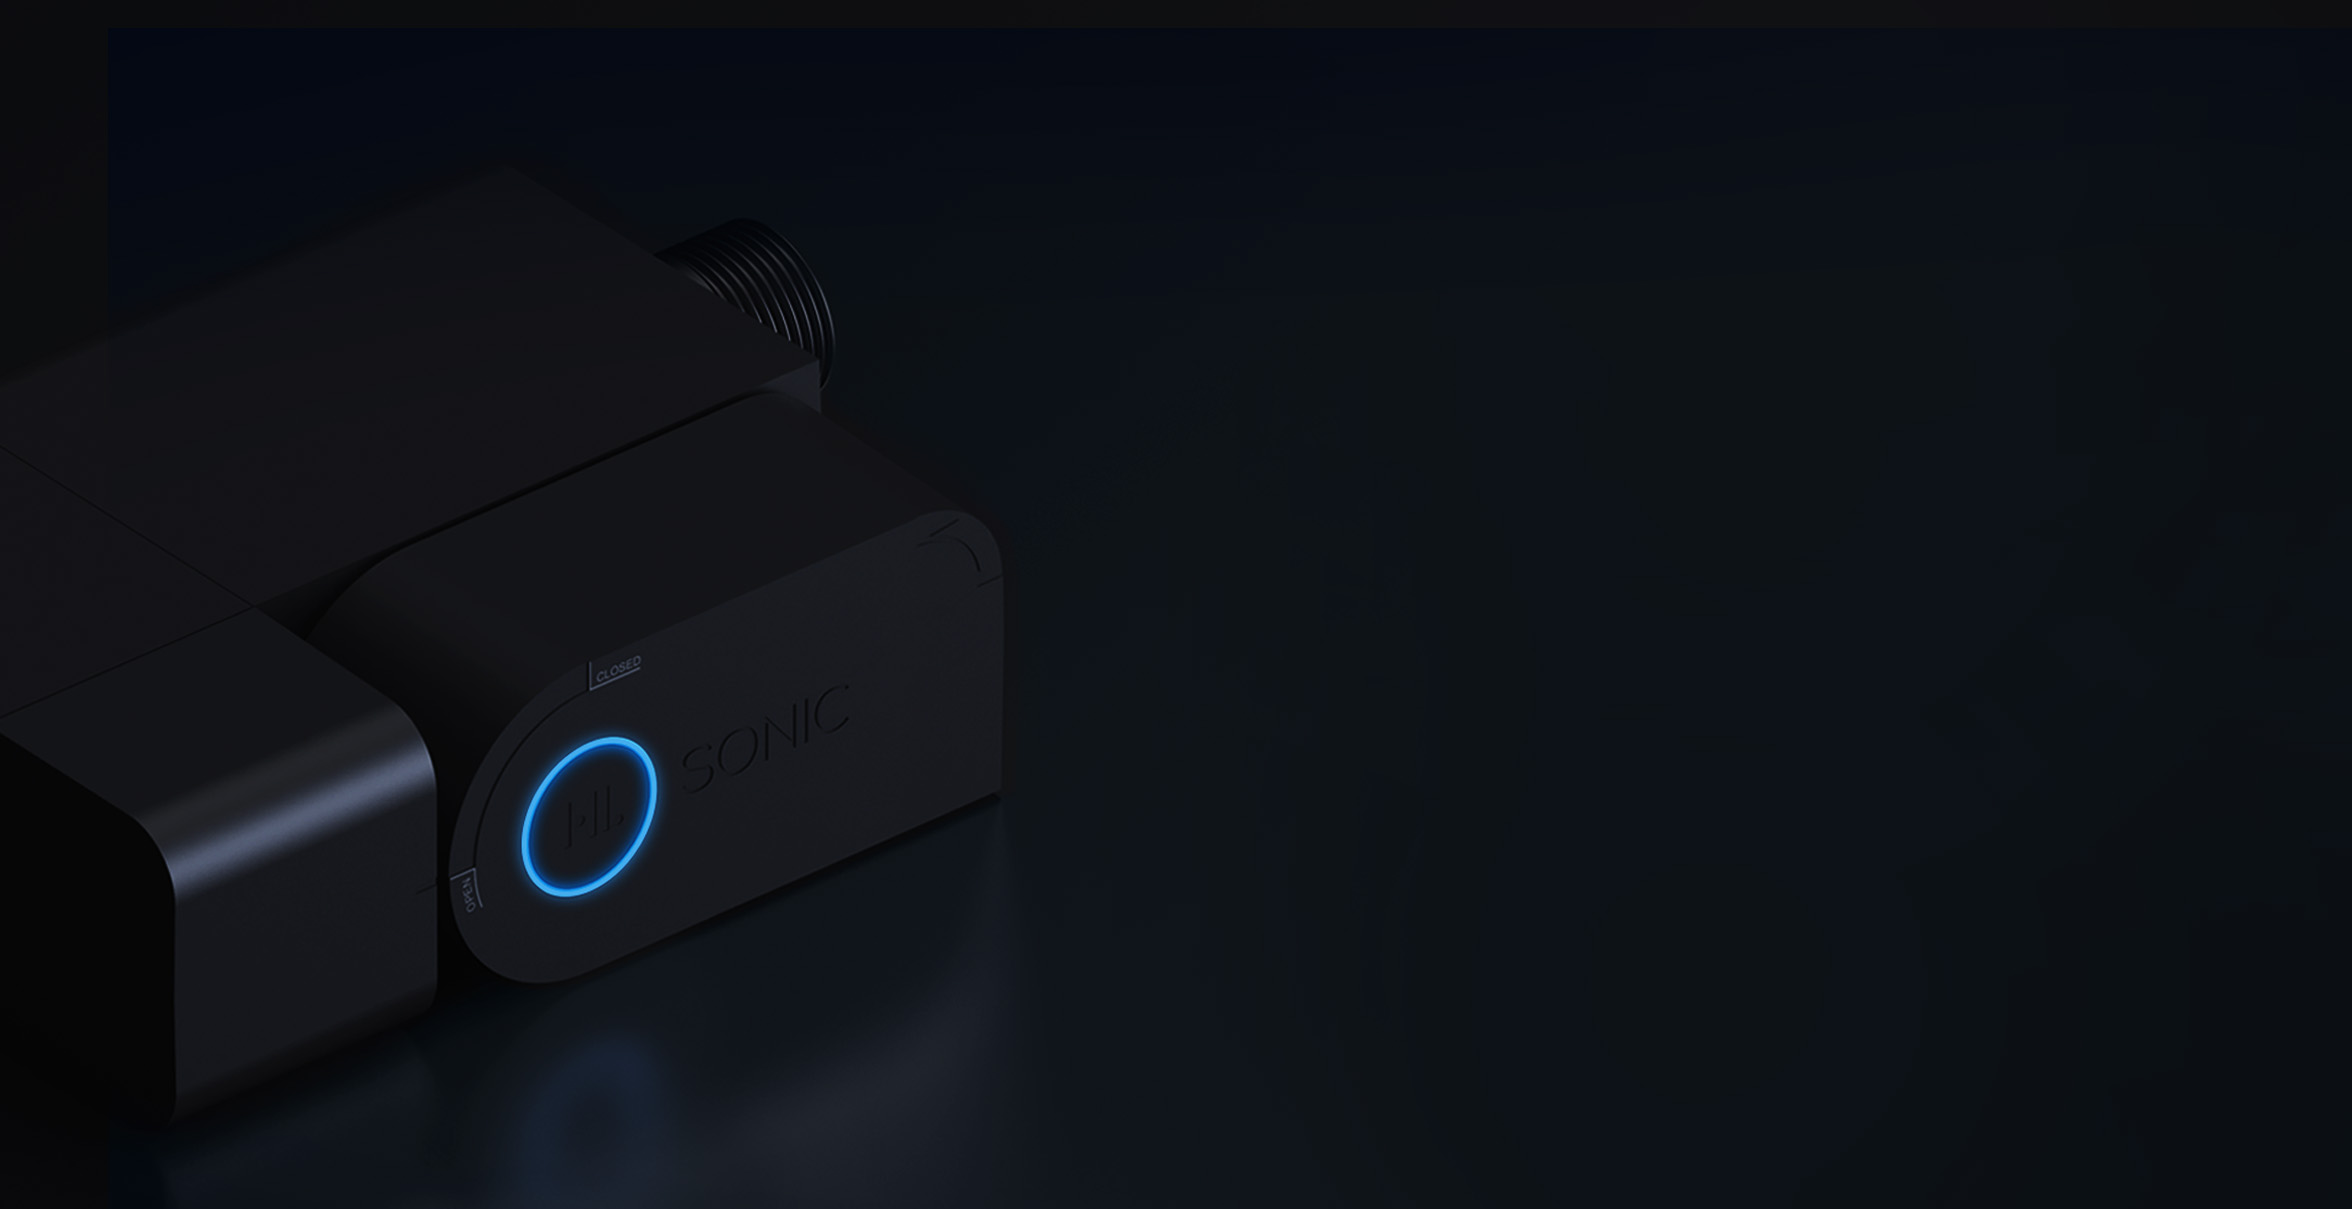
Sonic is a smart valve that can automatically shut off the water entering a property. It’s mains-powered with battery backups, and can also be opened and closed manually.
Recommended installation pipe sizes: 15 – 28 mm.
FIND A PERFECT SPOT
Locate the main valve
Locate the property’s existing shut-off valve on the main cold water supply pipe.
Sonic should be installed downstream, as close as possible to the existing shut-off valve, before any branches or appliances (except fire-suppression sprinklers).
If the property is fitted with a fire-suppression sprinkler system, Sonic MUST BE INSTALLED DOWNSTREAM OF THE SYSTEM to ensure the sprinklers will operate normally in an emergency.
Sonic is only for use with cold water systems.
Check direction of flow
Before you begin the installation, double-check the direction of flow. The flow of water must match the arrow indicators on the Sonic unit itself.
Check the space
Make sure there’s enough space for Sonic’s lever arm to fully open and close.
You’ll typically need a space at least 25 cm wide, 12 cm tall and 10 cm deep. Remember to factor in space for adaptors if required.
Also check that you can access the battery compartment.
Battery backup is for emergency situations only and allows Sonic to operate for a few days. For normal operation, Sonic must be connected to the main power supply.
Using mains power
Sonic Wifi need to operate on mains power. Check the distance to the nearest available power socket – ensure there is a 13 A mains socket nearby within 180 cm.
MAKE THE SPACE
Check the pipe diameter
Double-check that the compression couplers will work with the property’s existing plumbing. Make sure adaptors have BSP Parallel 3/4” female thread to connect to the Sonic, and include seal rings to do the sealing.
You can find and buy the supported couplers below:
- 15 mm to 3/4″ Adapters
- 22 mm to 3/4″ Adapters
- 1″ to 3/4″ Adapters
In case of other installations (e.g. plastic), make sure to use suitable adaptors, which will enable connection with Sonic’s 3/4” BSP Parallel thread.
Cut the pipe
Carefully cut the pipe with your pipe cutter and remove a large enough section to accommodate the Sonic unit and compression couplers. You’ll typically need to remove at least 21 cm of pipe.
Clean and deburr the ends as normal, then terminate the appropriate compression couplers onto the pipe.
When installing Sonic on suspended pipes or when there is a risk of torsional forces being transmitted to the unit, it is necessary to securely fix the pipes to the wall, for example, using pipe clamps.
INSTALL THE SONIC UNIT
Position Sonic in the space you’ve created and tighten the nuts onto each end of the unit using counter-holds technique, taking care to avoid cross-threading.
Double-check if Sonic valve handle is freely opening and you can reach the battery compartment.
Do not hold Sonic unit with your hand while tightening the nuts with a single wrench. It might cause breaking the smart valve. Be careful not to over-tighten – the maximum fixating torque is 10 N·m.
Do not use thread-based sealings like PTFE tape under the couplers as it might result in leaking. Use a dedicated sealing ring instead.
Do not remove the rubber flap over the DC power connector before finishing the installation to protect the device from water splashes.
OPEN THE ORIGINAL VALVE
Open the property’s original shut-off valve and observe if there are any leaks.
The internal valve position may differ from the physical handle. The handle should only be used in emergency. In all other cases please use the Mobile App to open or close the valve.
Search for valve position in our Help section at watergate.ai
THAT’S IT!
Customers need trusted professionals like you!
Congratulations! You have successfully installed Sonic. Let the property owner or Smart Home Integrator know they should launch the Sonic app on a smartphone and follow the steps to get started.
Customers need trusted professionals like you!
Become a Watergate Pro and get VIP tech support, top notch training materials, exclusive access to new products and lots more.